Best Practices5 essential preparation steps for a successful presentation
by Tom Rielly • June 15, 2020
Keeping your presentation visuals minimalistic, simple, and clear is just one important step to remember when designing a hit presentation. Leaving nothing to chance, great presenters prove quite methodical as they prepare. Here’s a checklist for everything you need to keep in mind before your next presentation:
1. Choose the right software for your needs

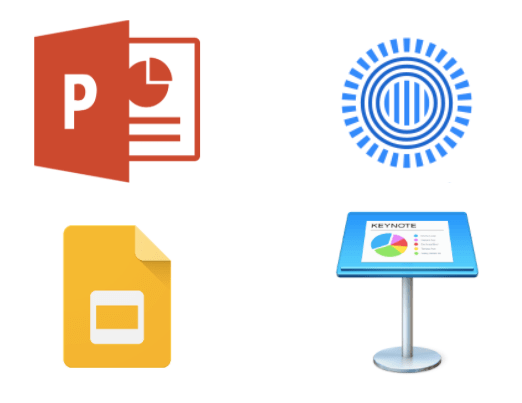
The easiest way to select the right presentation software for you is to simply find the one that is native to your device. For example, if you have a Mac, use Apple Keynote, if you work on Windows, use PowerPoint. Google Slides is recommended if you’re working with someone, as it makes collaboration very easy. Another software option is Prezi: a specialty tool called Prezi that creates a presentation using motion, zoom, and panning across one giant visual space.
2. Organize your files
As you develop your script and visuals, you will need to start assembling all the assets for your slides. Create a unique folder on your computer to hold these items. Keep the folder organized by media type (presentation drafts, photos, videos, scripts) and back them up frequently to the Cloud or external disk. Label each file with a specific descriptive name, e.g. “Susan Johnson singing magpie 2020”, as opposed to “IMG_4043.jpg”, which can make it confusing to find your assets. The more organized you are up front, the easier preparing for your presentation will be.
3. Prepare your presentation materials
Make sure your presentation materials (script, graphics, actual slides) are saved in at least two safe spots (for example, your computer and an external USB drive) and are backed-up frequently. If you are using an online presentation software, such as Google Slides, be sure to also download a copy of your presentation in case the internet connection is unreliable. Having all the individual assets on hand in addition to your presentation slides can be helpful if you experience tech issues before presenting, or if you need to make any last minute changes. Make sure to label your final presentation with the title and your name so it’s easy to find.
4. Practice, practice, practice!
Remember, practice makes perfect. People often run out of time making their presentations and have no time to practice. Most TED speakers practice at least ten times. Neuroscientist Jill-Bolte Taylor gave one of the most successful Talks in TED history with nearly 27 million views. How did she do it? She practiced her Talk over 40 times! By rehearsing multiple times you will naturally memorize your Talk, which means you won’t need note cards when you give your final presentation.
5. Do a final test run
Before presenting, make sure the equipment you need is working properly. It’s generally good practice to rehearse standing on the exact stage with the exact lighting using the exact computer that you will be using in your final presentation.
Here’s a quick checklist of what to look for when testing your equipment:
- If you're not using your own computer, the one provided might be slower and have trouble playing media. If you have videos or other media, make sure they play correctly
- Test the projector to make sure it’s HD
- Make sure images are clear
- Test the sound of any clips you use, as this is what goes wrong most frequently
- If you’re using a mic, test the volume
Don’t let technical issues or other blunders overshadow your presentation. By following these guidelines, and with a little preparation, you can engineer out the problems BEFORE they happen.
Ready to learn more about how to make your presentation even better? Get TED Masterclass and develop your ideas into TED-style talks